
The 3 Video Set-Ups You Need to Sort
Video equipment can become a rabbit hole very quickly.
You start off wanting to make a few videos for your business and, eleven YouTube reviews later, you’re knee deep in sensor sizes and focal range.
The thing is, most video advice online is aimed at “content creators” and videographers, not at founders and business owners.
And there’s a difference.
You’re not looking for a professional-grade studio setup (you can hire one when you really need one), you just want to make decent-quality videos that fit the purpose you’re creating them for.
Which leads me on to the three types of video set-ups you could do with sorting, or at least understanding, before you make any more videos (or buy anything you don’t need!): Smartphone, Computer and Camera.
They’re not three levels you progress through as you get better at video. They’re different setups for different situations, and you might end up using one, two or all three.
Here’s the TLDR on each:
| Smartphone | Computer | Camera | |
|---|---|---|---|
| Best for | Social media content, updates, recording on the go | Remote conversations, presentations, screensharing | Website video, long-form content, in-person conversations |
| Advantage | Record, edit and post from almost anywhere | Record where you’re already working | Higher image quality and more options |
| Disadvantage | Small screen can be fiddly to edit on and lack precision | Ties you to your desk or workspace | More to learn, set up and manage |
| Process | Record → edit/add captions → post from phone | Record → edit/add captions → post from computer | Record → transfer files → edit/add captions → post from computer |
Whichever setup you’re using, remember:
The message maketh the video.
Better equipment can improve how a video looks and sounds, but it can’t rescue something that isn’t worth watching in the first place.
So now let’s looks at what you actually need for each setup.
And if you’d like to skip straight to the part where I tell you what I use, and what I recommend, click here.
1. Smartphone Setup
Your Smartphone Setup is the easiest place to start because you already own one.
Modern phones already produce good quality video, but even where they lack can be a strength, as “smartphone” video actually performs better than studio-quality video in many contexts.
Also, it’s convenient. Your phone is with you, you know how to use it and you can go from having an idea to recording it within minutes.
That makes it particularly useful for regular Founder-led content, Video Updates, Expertise Videos and anything you want to capture while you’re away from your desk.
What you need
• A smartphone
• A stand, tripod or mount
• An external mic
Smartphone camera
As long as it’s a relatively recent (less than 5 years old) smartphone, you’re good to go.
Unless you’re using a teleprompter app* and need to look at the screen, or there’s another reason to use the front camera, try to record with the rear camera for more options and better image quality.
It’s worth checking out the settings to make sure you’re recording in the maximum resolution possible. The better resolution is often worth the extra storage because it future-proofs your videos as quality standards increase over time
Stand
Filming handheld is fine for a more laid-back style, but most of the time you’ll want to have your hands free.
If you’re filming while sat or stood still, go for a tripod or desktop stand.
If you’re filming while walking, a selfie stick will do the job. Gimbals are available for smartphones, but I haven’t found them worth the effort so far.
If you’re filming in the car, or directly in front of a window, you can use a windscreen mount.
Microphone
Your phone’s internal microphone is a good back-up, but I’d recommend using an external microphone for better and more consistent sound.
You can get shotgun mics that plug into your phone, lavelier mics that clip onto you, and wireless mics that give you the most flexibility.
Don’t forget to do a soundcheck before recording.
2. Computer Setup
If you do any of the following from your desk:
• Video calls
• Guest appearances
• Remote podcasting
• Online training
• Screen recordings
…you really ought to have a decent computer-based set up.
Plus it’s ready there for an other videos you wanna create.
What you need
• A webcam or video camera
• A tripod (if using a video camera)
• A USB mic
Camera
Even if your built-in webcam produces decent footage, there’s still plenty of room for improvement when it comes to image quality, especially because people are often viewing you on a bigger screen.
A plug-in webcam cab be a quick upgrade, but your other option is to use a video camera (of the “vlogging” variety) that you stream as a webcam via USB or HDMI cable.
Stand
If you’re using a video camera, you’ll need to use a desktop height tripod and position it looking over your screen from the back (close to where your in-build webcam is located)
Microphone
Because of it’s automatic audio enhancements, Zoom can have us believing the internal sound quality of our machine is better than it is.
The simplest fix is to use a dynamic microphone that plugs into the USB port.
3. Camera Setup
When image quality feels more important, you’d be looking to record on a “proper” camera, like a mirrorless or camcorder.
A couple of scenarios would be: if you were creating website video and you’d like it to match the design quality of your site, or you want to increase the perceived quality and credibility of your long-form content.
What you need
• A camera
• A tripod
• An external mic
Camera
Camcorders and “vlogging” cameras are designed specifically for video content and tend to be easy to set up and use, but less sophisticated.
Mirrorless cameras are designed for photography and videography and give you the most superior image quality – when you know what you’re doing! You need to be willing to spend more, learn how to use them and understand lens options.
Stand
You’ll need to mount your camera to a sturdy tripod (not the flimsy ones designed for phones) to keep it still and get it to the right height.
Microphone
There are two types of mics, those that mount to the camera and those that mount to the subject.
A shotgun (camera-mounted) mic, is fine if you’re going to be at close range without background noise. A wired or wireless lavelier mic works when you want the freedom to be further away or move around.
The two things all set-ups need
Whichever of the three Video Setups you’re using, you’ll need to consider two other things, lighting and backdrop.
Lighting
The same lighting principles apply to all three Video Setups, although good lighting can actually be harder to achieve with a “superior” camera than a smartphone due to differences in sensor size and how much smartphones do for you automatically.
As a general rule, the more good quality light you have, the better your video will look.
Natural daylight is a great source of light. Position yourself facing or at an angle to the natural light source, and avoid filming with a bright window or the sun behind you.
If you’ve got a natural light source on one side of you, you can balance it out by putting another light source on the other side.
Softer light tends to be more flattering than harsh, direct light. You can soften artificial light by bouncing it off a wall, using a softbox, or even using a lamp with a shade.
You can also adjust your camera settings to change how much light the camera lets in.
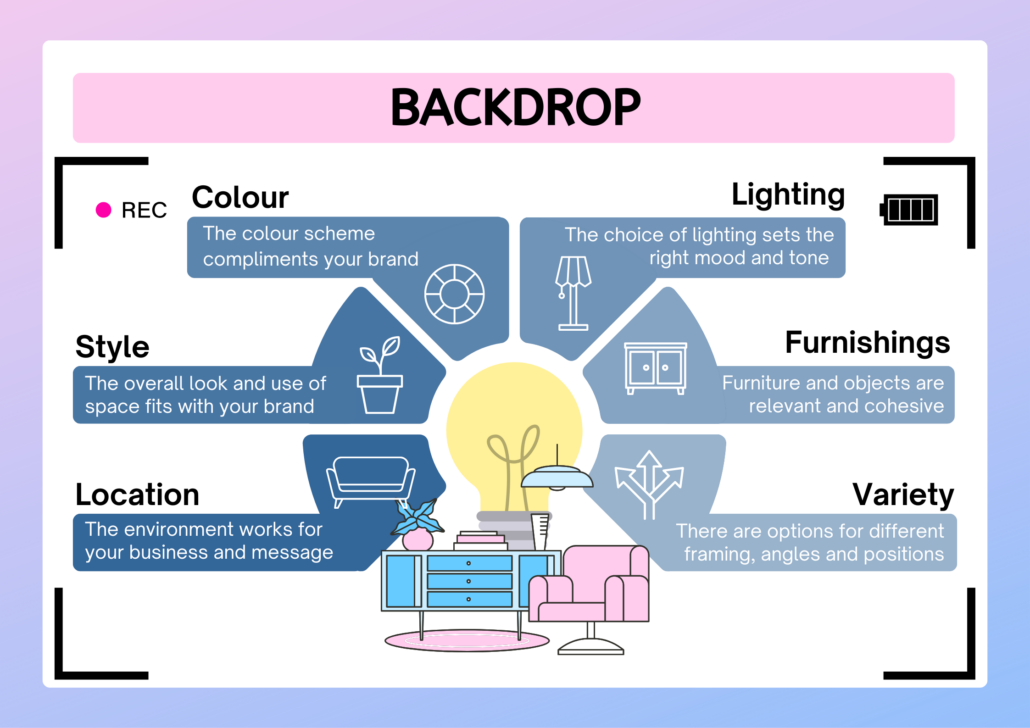
Backdrop
The signifance of the environment you’re filming in varies depending on the type of video you’re making, but there are no downsides to having a nice-looking backdrop in your videos.
Furniture, bookshelves, plants, artwork, feature lighting and interesting wallpaper can all work well in the background, particularly if they showcase something about you, your business or your personality.
I’d avoid creating a physical backdrop (i.e. the ones that hang on a frame) unless you have a reason to. They often need lighting separately and can over-complicate your setup.
Virtual and heavily blurred backgrounds can also look artificial or distracting, so where possible I’d favour a real environment that looks intentional without looking like you’ve built a television studio.
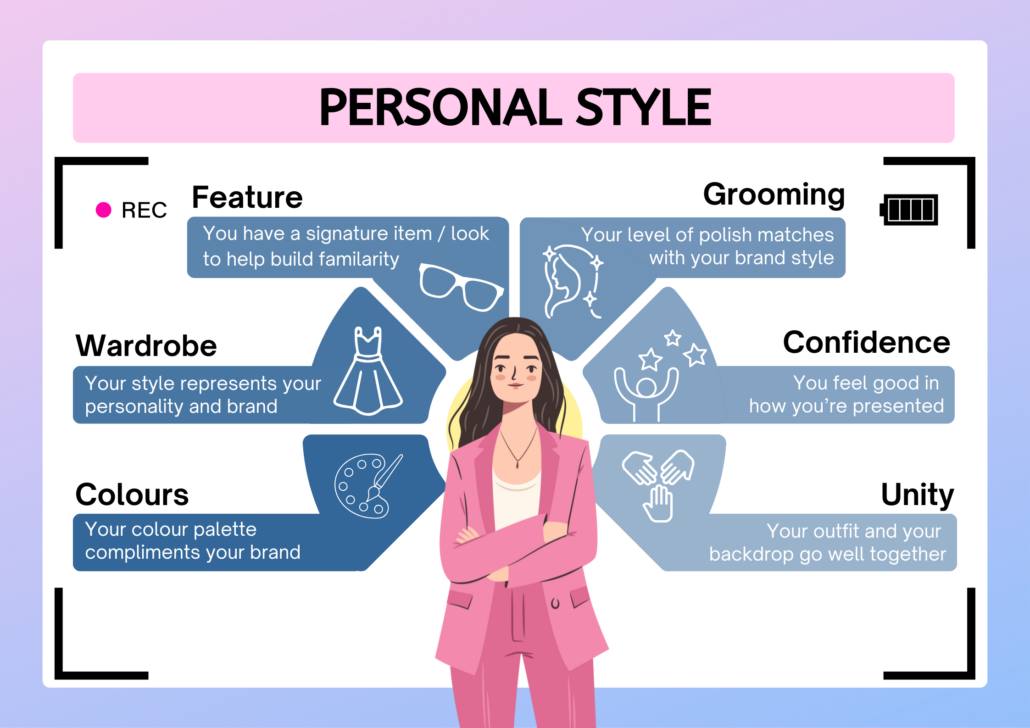
Your Personal Style
Start with what you have
It’s very easy to make buying equipment feel like progress.
Sometimes it is. Often it’s procrastrination.
The best rule I’ve found is:
Start with what you have. Buy equipment to solve a problem.
If you need better sound, buy a decent microphone. If you don’t have enough light, add some. If your current camera is stopping you getting the result you want, then look at another camera.
But the important things is that you don’t avoid making videos, because you don’t have X yet. That’s just an excuse.
Especially because you’re only one Amazon checkout away from having what you need the next day.
To make things easier, you can check out My Personal Video Kit page with the equipment I currently use and recommend.